

Map Crafts: DIY Luggage Tag
Add a touch of flair to your luggage with this easy-to-make luggage tag! Nothing screams adventure quite like a map, so we've crafted this luggage tag out of a premium Rand McNally map. Follow these instructions to create the perfect little addition to your next adventure.
Supplies:
- Scissors and/or X-Acto knife
- Hole punch
- Pen or pencil
- Ruler
- Rand McNally Premium Wall Map (or other synthetic paper map)
- Duct tape
- Cellophane, projector sheet, or other thin, clear plastic material
- Luggage tag strap or loop
- Printable stencil and contact card
Instructions:
Step 1: Print out the luggage tag stencil
Download and print the luggage tag stencil provided in the link above. Cut the stencil and contact card out with scissors, including the small rectangle inside of the tag.
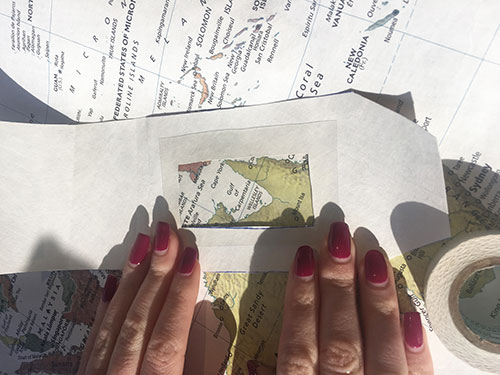
Step 2: Trace the luggage tag on the map
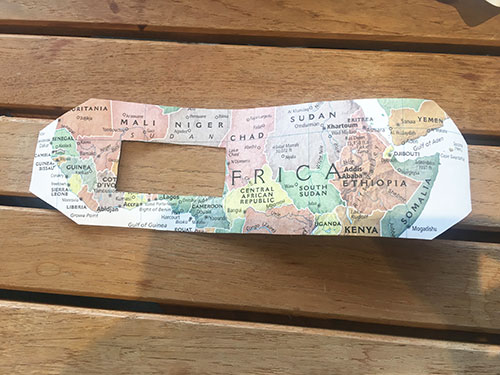
Locate the portion of the map you would like to use and place the stencil on top of it. Fold the map vertically or horizontally—depending on the way you would like your map positioned—aligning the bottom of the stencil with the fold in the map. Note that both sides of the folded map will be visible on the luggage tag. Also note that the portion of the map within the cut-out rectangle will later be removed.
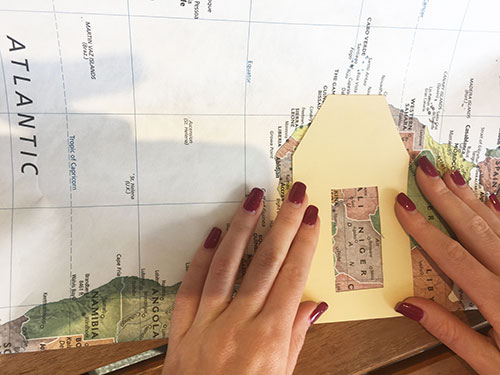
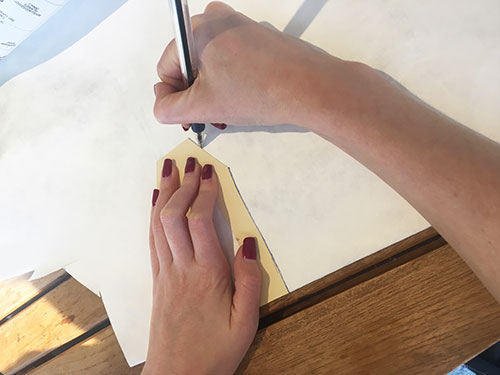
Now fold the map in half again so that the back of the map faces you. Again, align the bottom of the stencil with the fold. Use your pen or pencil to trace around the edge of the stencil, as well as inside the rectangle, and cut.
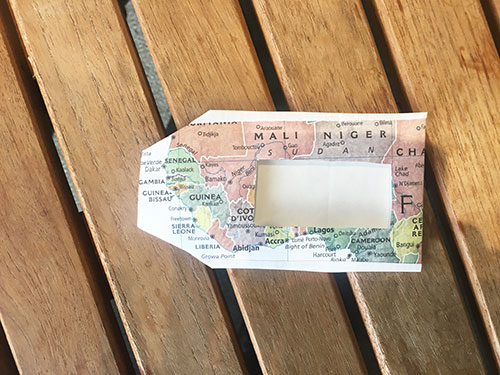
Step 3: Add the plastic contact card cover
Take your cellophane sheet and cut out a rectangle about 1⁄4 to 1⁄2 inch larger than the small rectangular cutout in your tag. Place on the inside of the tag and secure with tape, completely covering the open rectangle.
Step 4: Secure the sides of the tag together
Secure the sides of your luggage tag togther using tape. NOTE: Do not tape the top of the tag together—you need this to remain open so you can slide in your contact card.
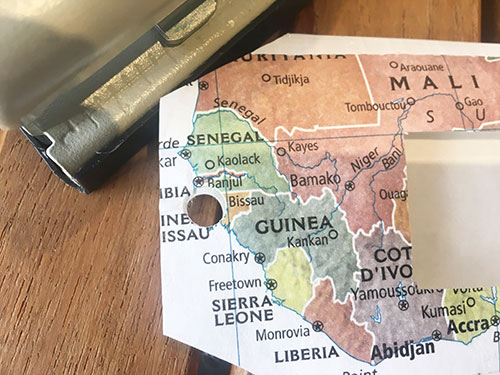
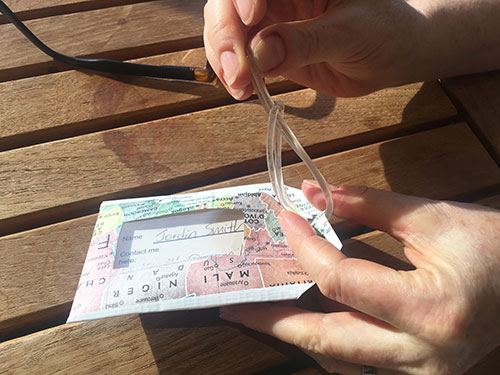
Step 5: Make a hole in the top of the tag
Using a hole punch, create a hole in the top of your luggage tag. This is where your luggage strap will go.
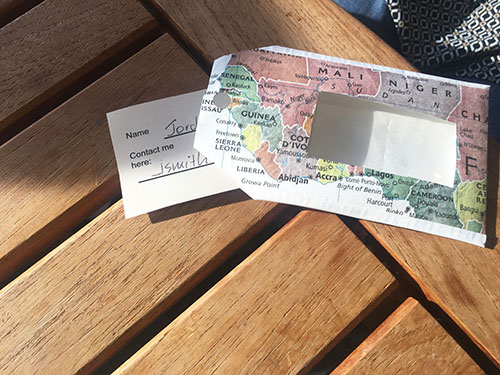
Step 6: Insert contact information
Fill out the contact card you cut out in Step 1 with your contact information and insert into your luggage tag.
Step 7: Attach to luggage
If your luggage tag strap buckles, you can easily slip the strap through the hole and fasten to your suitcase handle. When using a luggage loop, slide the strap through the hole in your tag and wrap around the handle of your suitcase. Secure the luggage tag onto the suitcase by looping one end of the strap through the other and pulling tight.
Step 8: Travel in style!
Travel with peace of mind knowing your luggage contains your contact information if ever lost—and looks pretty cool, too!