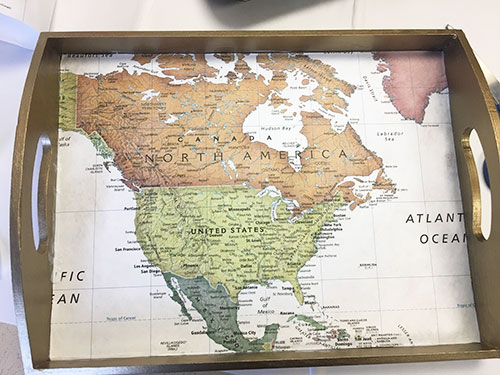
Map Crafts: DIY Tray
Add a level of adventure to your interior decor with this map-decorated tray! This DIY tray is a low-cost craft that is as simple to make as it is sophisticated. Our tray is decorated with one of our premium maps, but you can use any paper-like item, such as pictures, posters, etc. Follow these steps to create your own decorative tray!
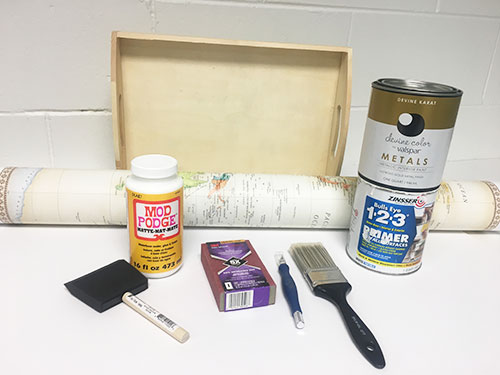
Supplies:
- Wooden tray, any size—The tray used in this tutorial is 14.5" x 11"
- Water-based primer
- Acrylic or latex paint, any color
- Paint brush
- Flattened map, size depending on the size of your tray
- Decoupage medium
- Foam brush or second paint brush
- Scissors and/or razorblade knife
- Sanding block, extra fine 180 grit
- Optional: tack cloth
Instructions:
Step 1: Prepare your work station
Prepare your work station with the supplies mentioned above. Flatten out the map overnight, if you must. Be sure to have a large, flat surface to work on. Cover your work station with a plastic tarp to prevent stains.
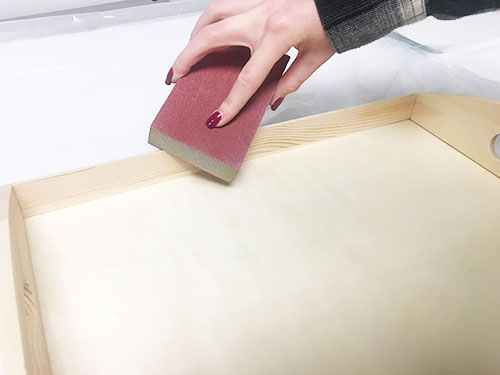
Step 2: Sand the tray
Sanding your wooden tray will prevent splinters and allow for a smoother paint job. Take your sanding block and gently rub over the entire tray, paying close attention to the corners and edges. Wipe down your tray to remove any excess sanding dust (tack cloth works great).
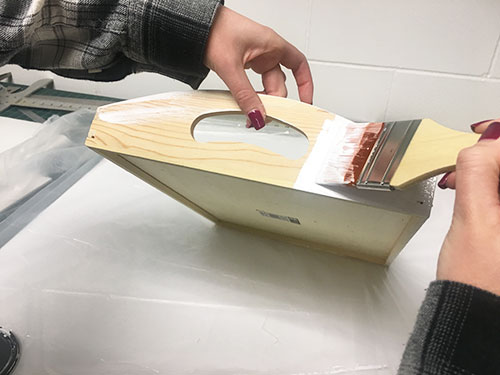
Step 3: Prime
Once the tray is clean and smooth, apply a thin layer of primer with a good quality paint brush. No need to prime the inside bottom of the tray, since it will be covered with the map. Allow primer to dry according to its instructions.
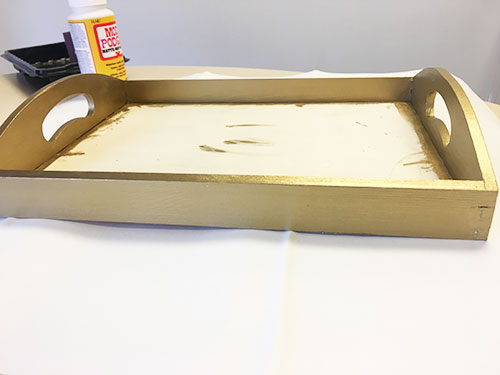
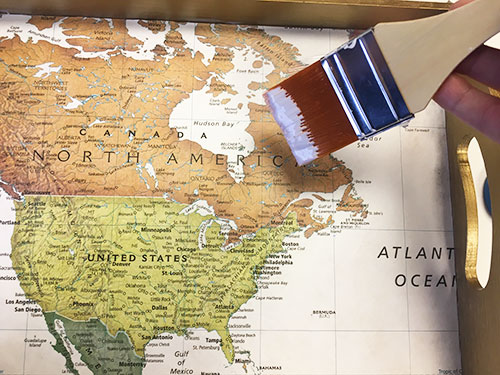
Step 4: Paint
Apply a layer of paint to the primed areas. Try to keep your brush strokes going in the same direction to allow the paint to blend in evenly. Paint will most likely gather in the corners of the tray—spread them out as best you can to avoid drip marks. A smaller paint brush might come in handy for tight corners and crevices. Allow paint to dry according to your paint's instructions. Add another layer if necessary.
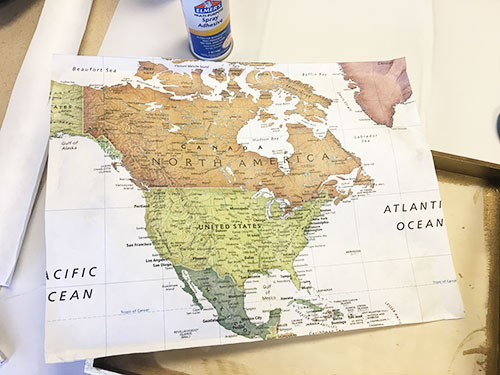
Step 5: Trace out the map
Once the tray is dry, cut your map so that it fits inside of the tray. One way to do this is by measuring the dimensions of the inside of the tray and cutting your map accordingly.
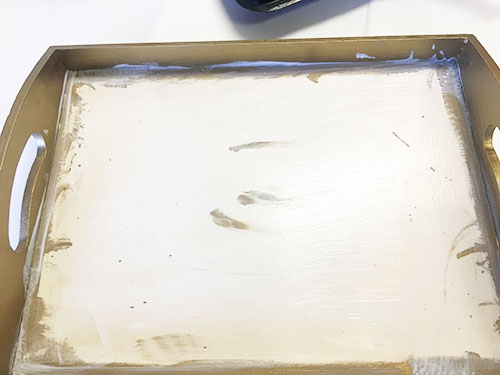
Step 6: Decoupage
Once you have your piece of map cut out, spread a thin layer of decoupage medium using a paint or sponge brush onto the backside of the map as well as the inside of the wooden tray.
Step 7: Paste the map onto the tray
Carefully position your map onto the inside of your tray and smooth using your hands. Take your razorblade knife and remove any excess pieces along the edges. If you accidentally cut your map too small, you can always strip out pieces from the leftover map to glue into the tray.
Step 8: Seal
Take your decoupage brush and add another layer on top of the face-up map, spreading evenly. Don't worry about getting a little decoupage glue on the insides of the tray, it will dry clear.
Step 9: Enjoy!
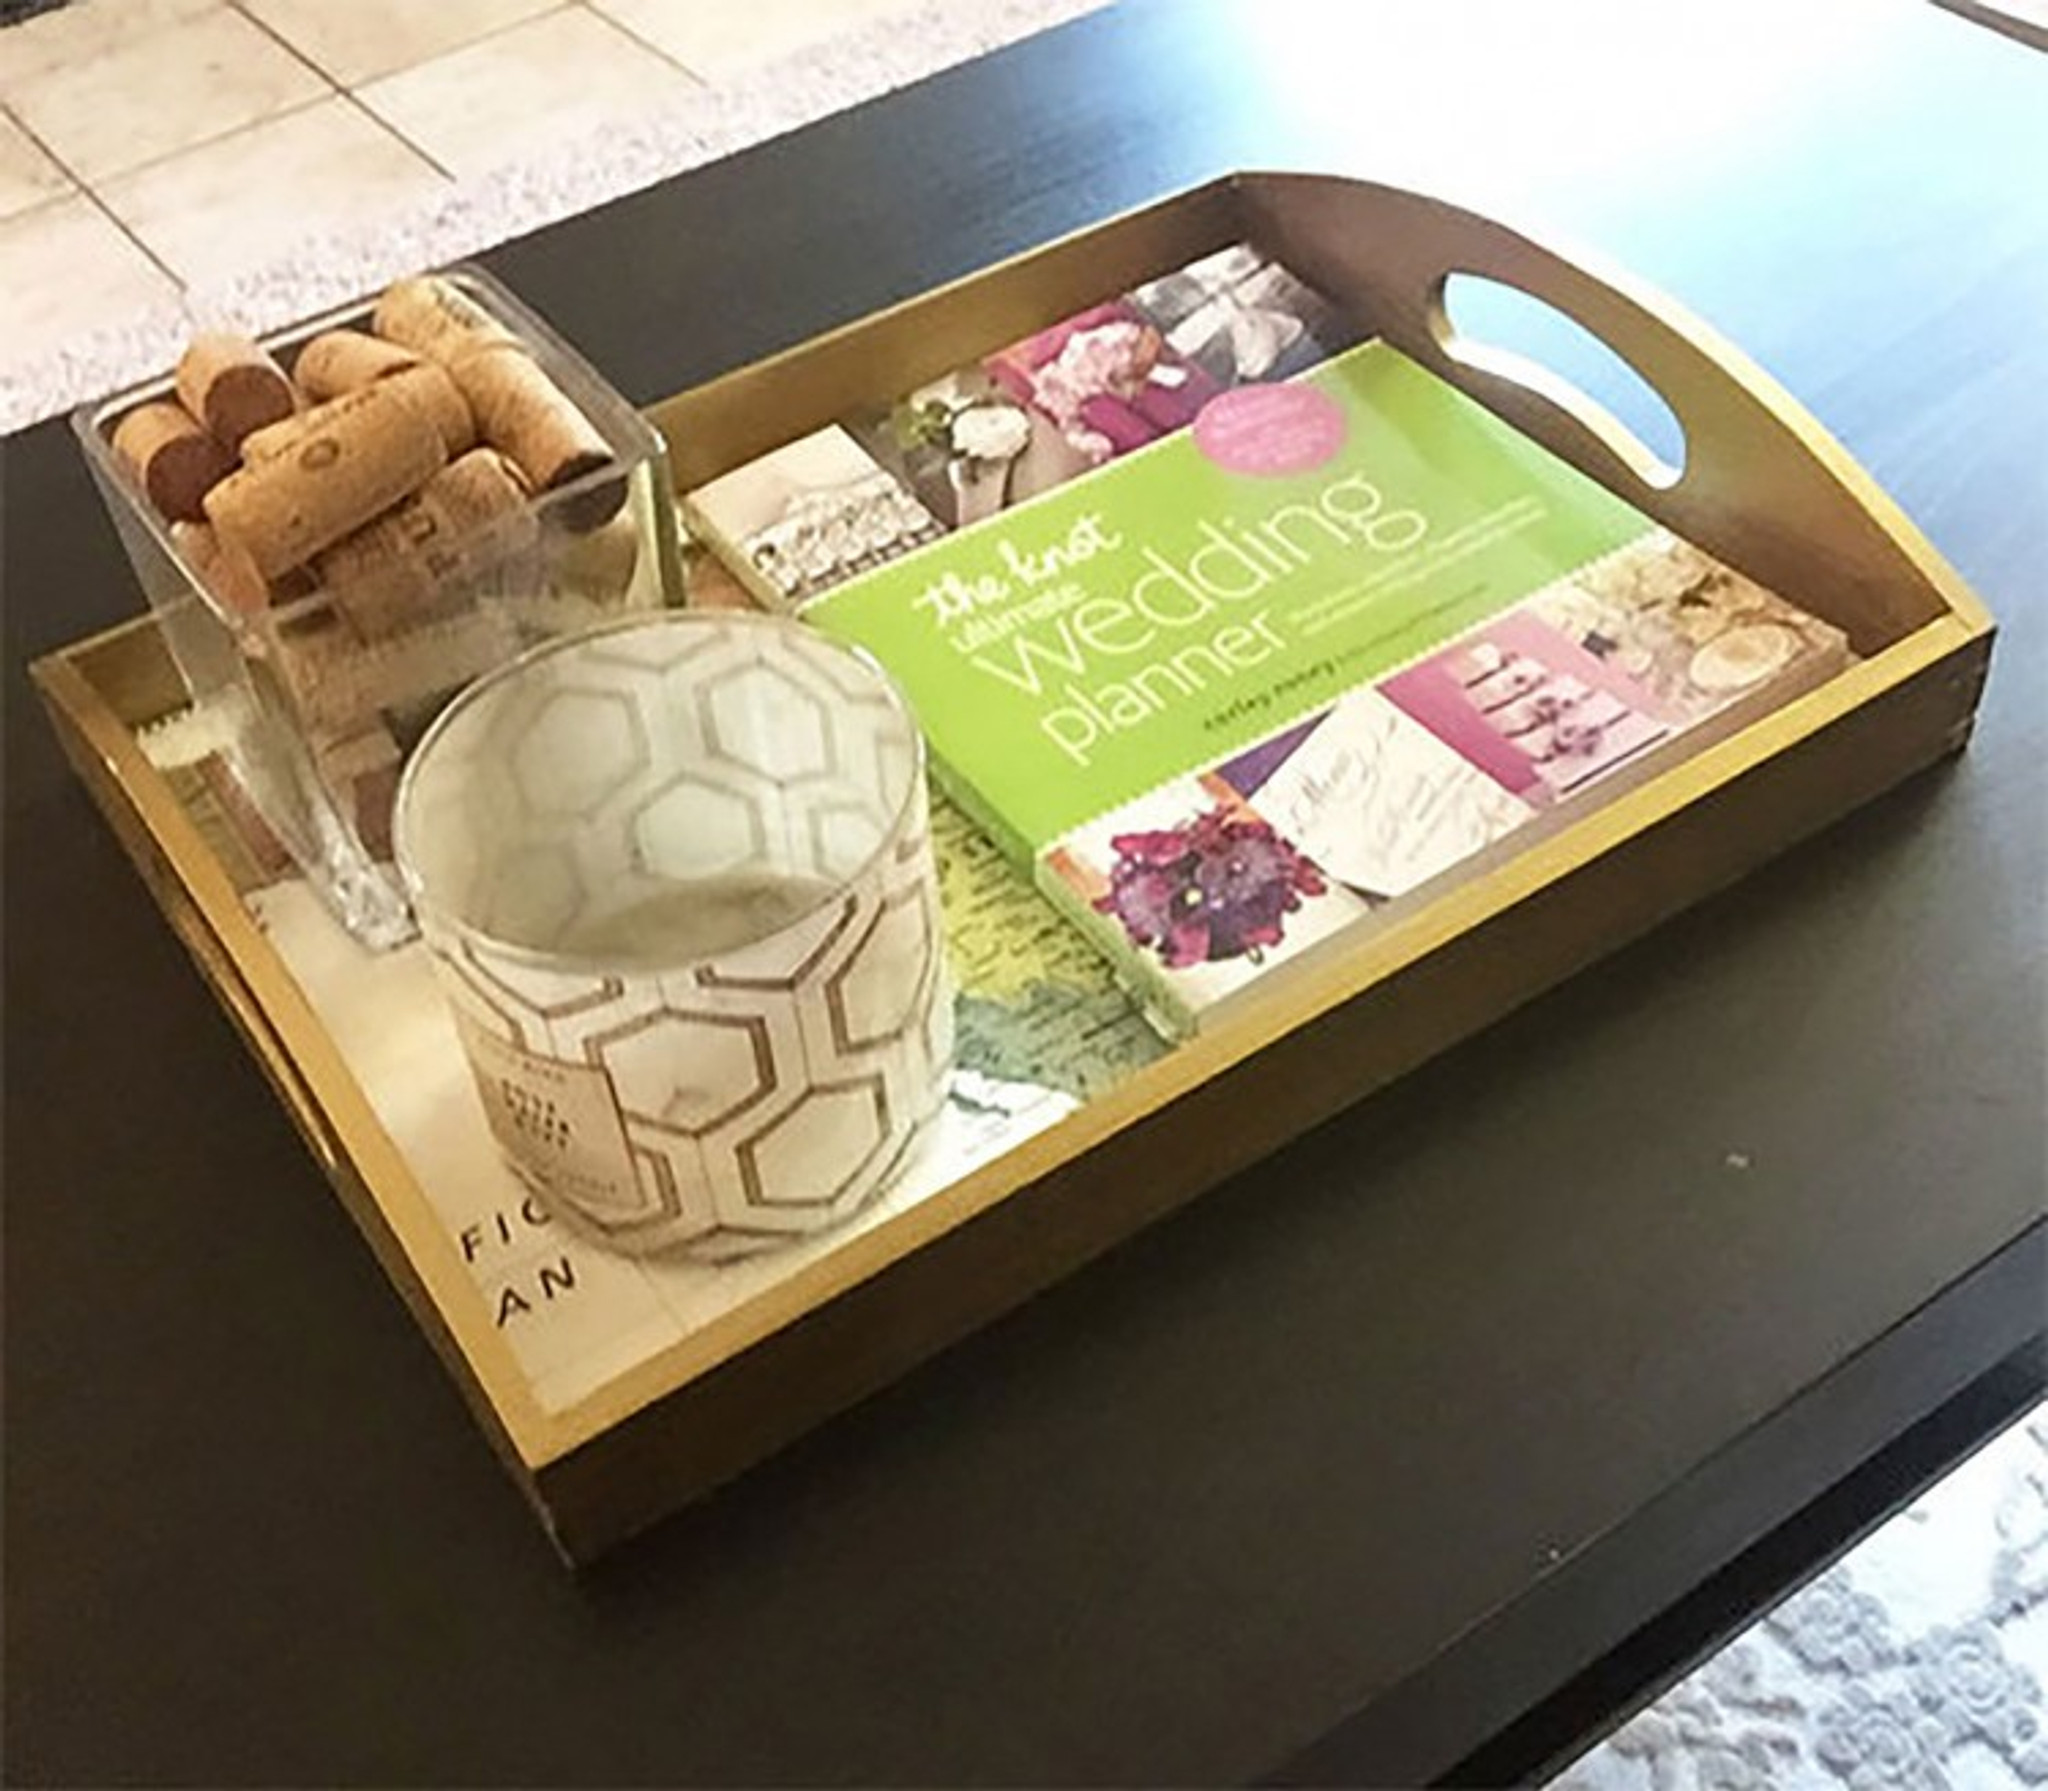
Let the decoupage glue dry overnight. If your map doesn't look completely sealed, go ahead and add another coat. Once your tray has dried completely, show it off to guests by placing on your coffee table, ottoman, or anywhere you'd like! And, don't forget to post to Instagram! Tag us at @randmcnallyofficial and use #mapcrafts.